LAN Deployment (Recommended)
- ✓Server and endpoints must be on the same Local Area Network (LAN)
- ✓Simplest setup for small to medium organizations
- ✓ No public IP address required
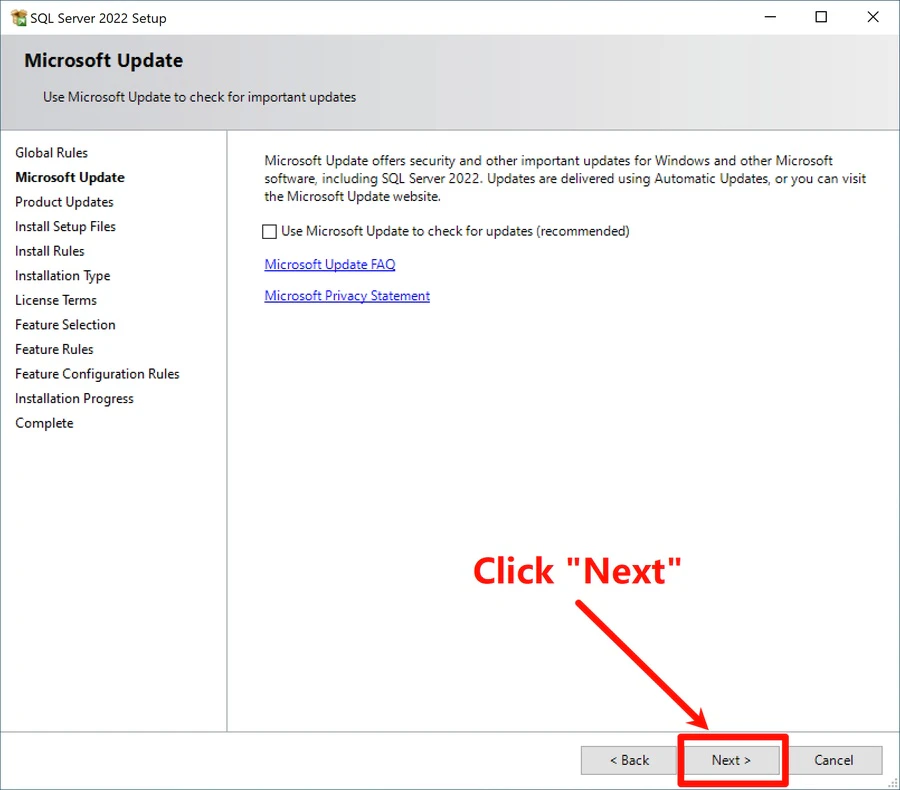
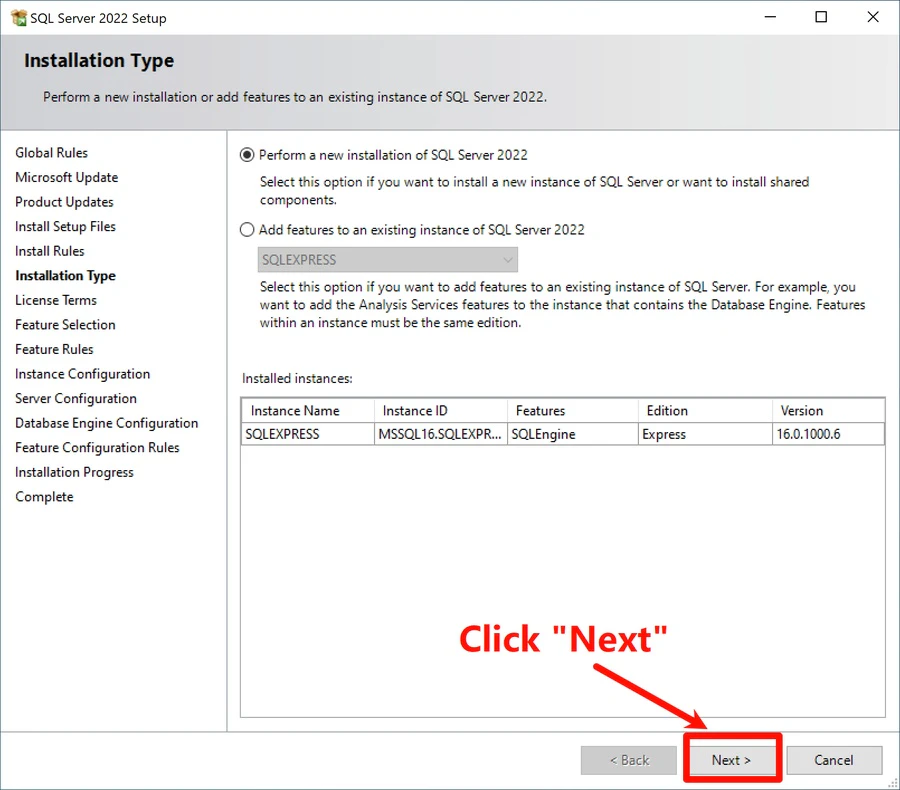
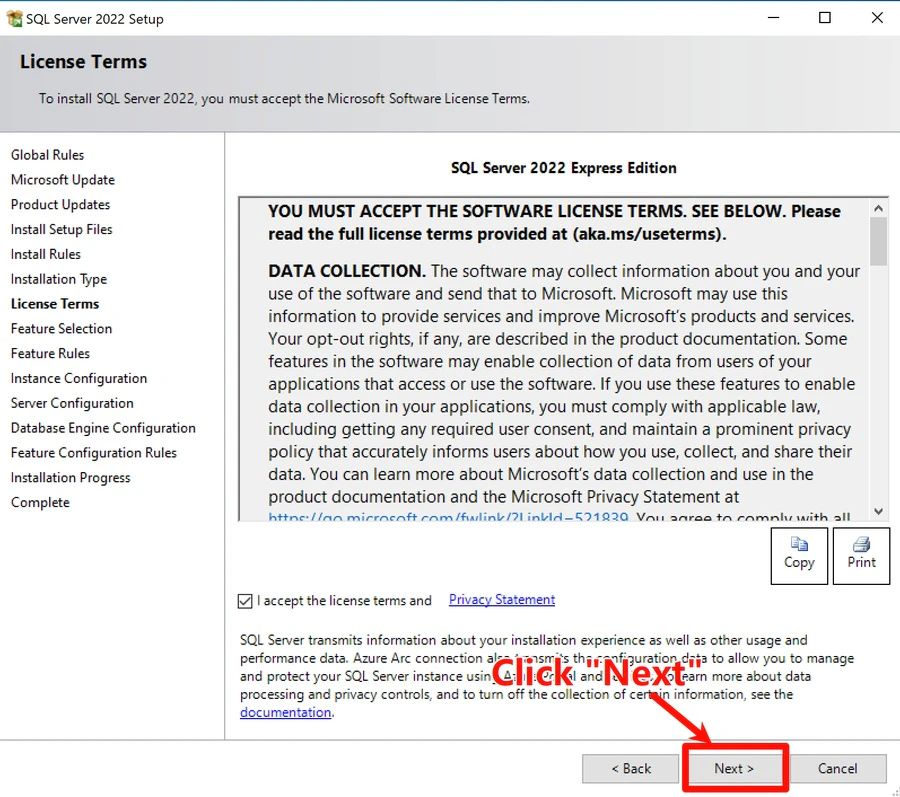
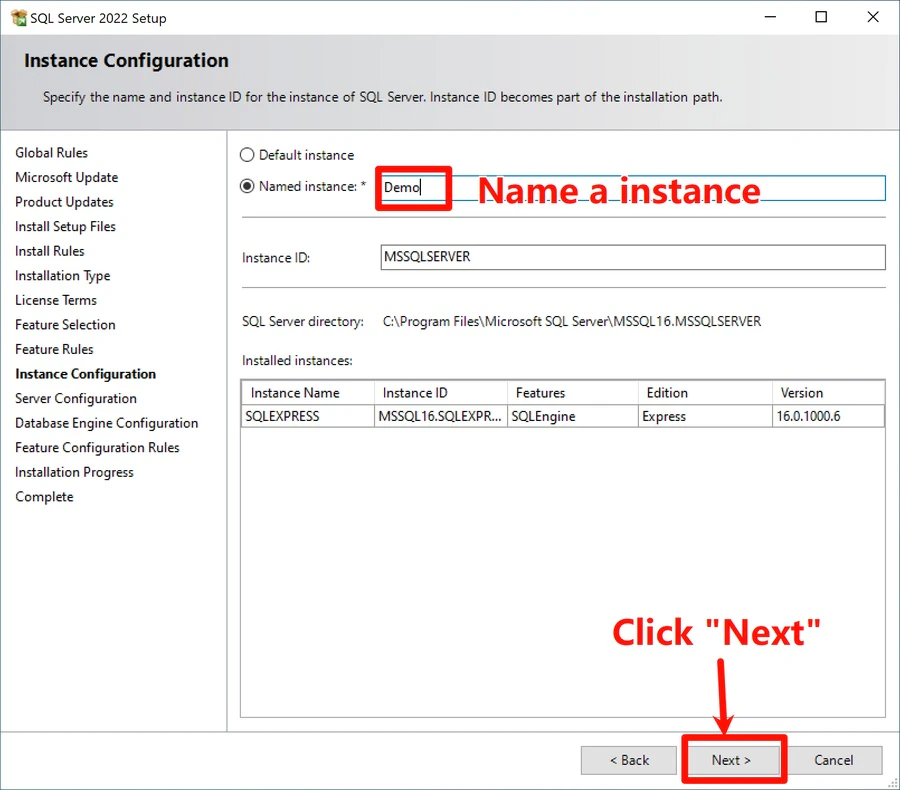
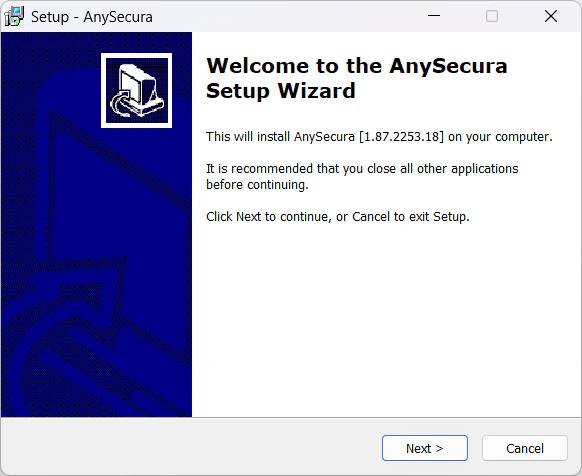
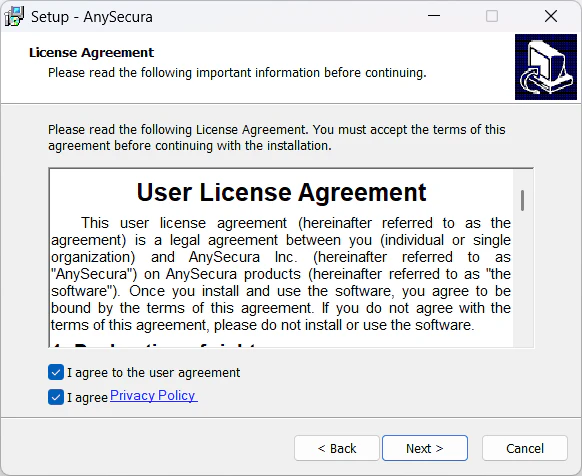
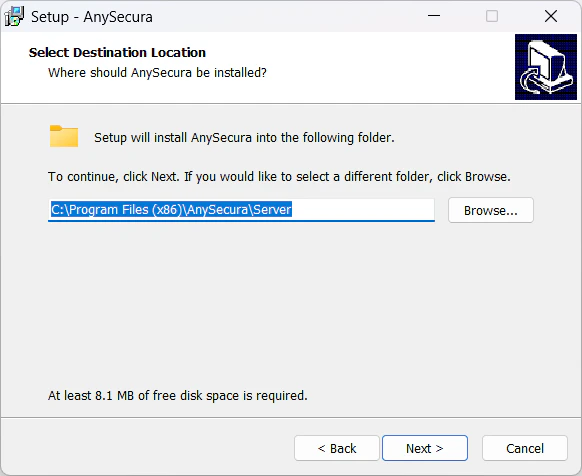
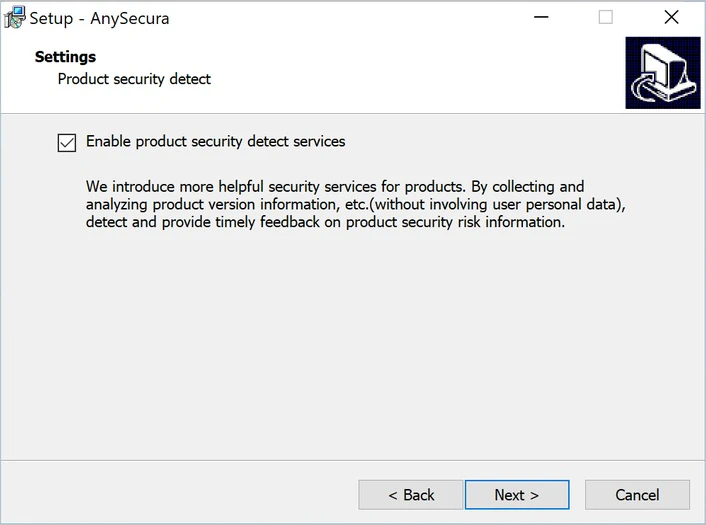
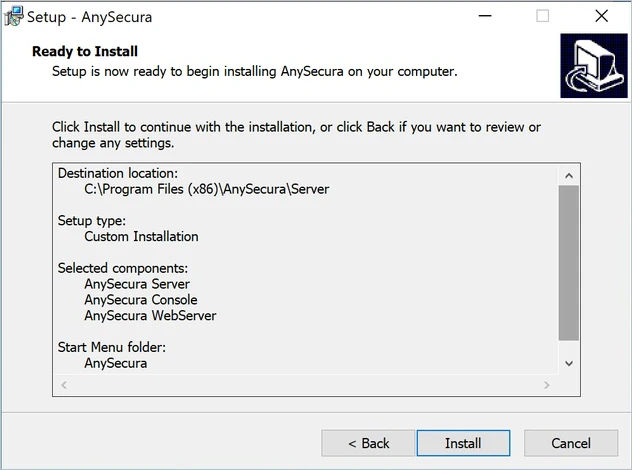
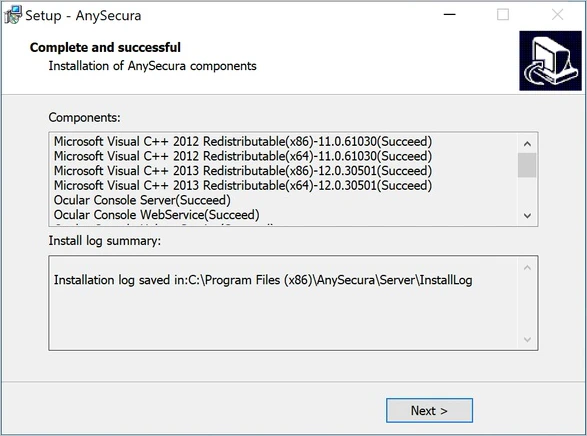
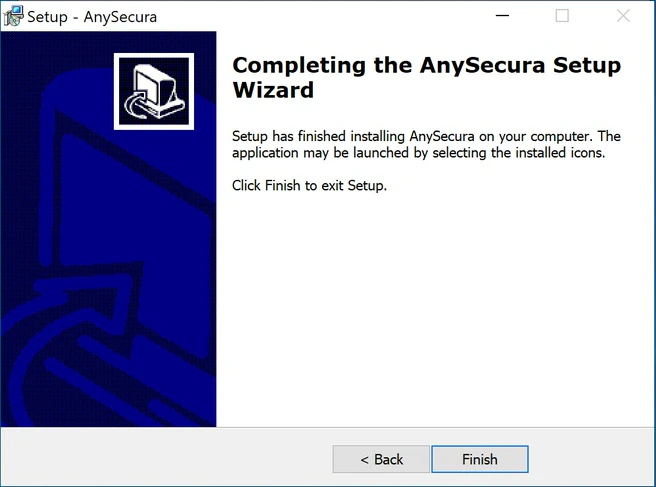
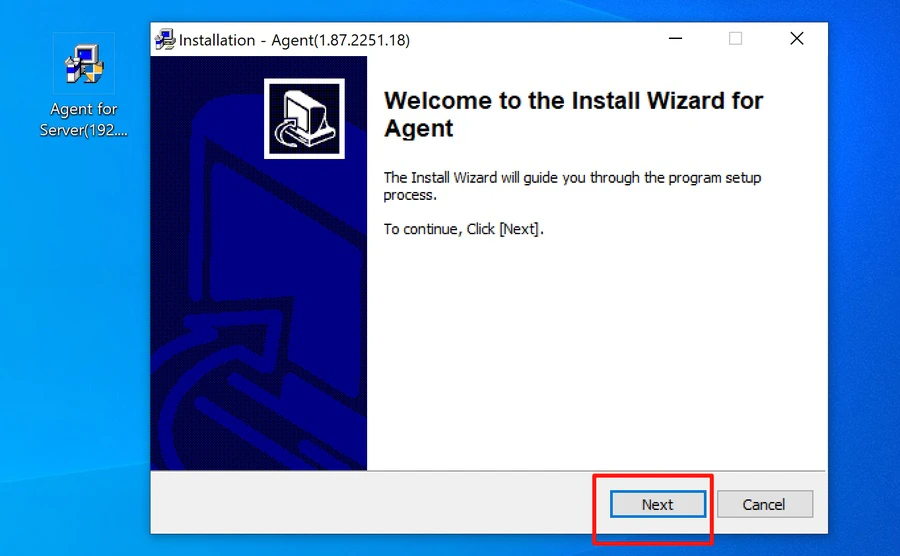
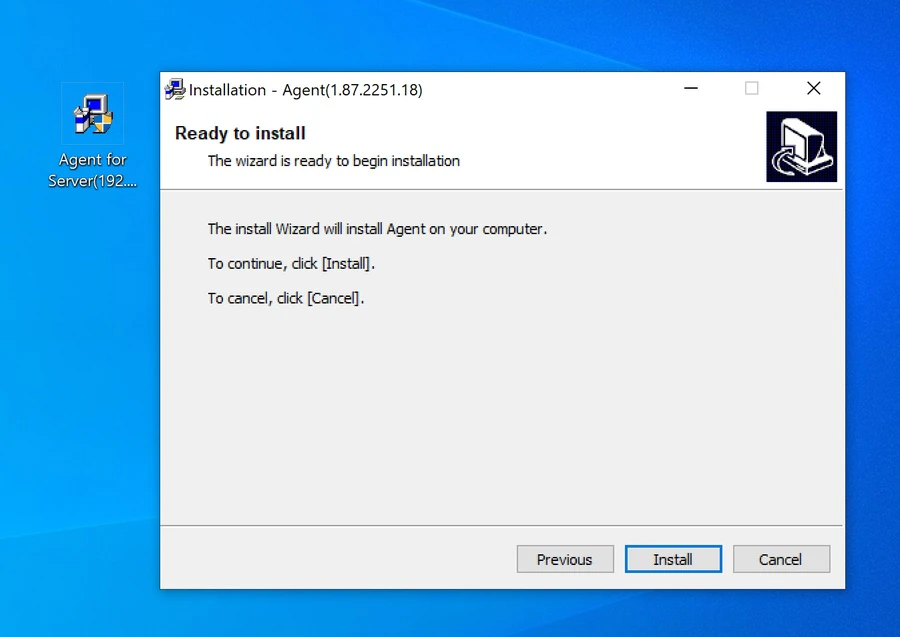
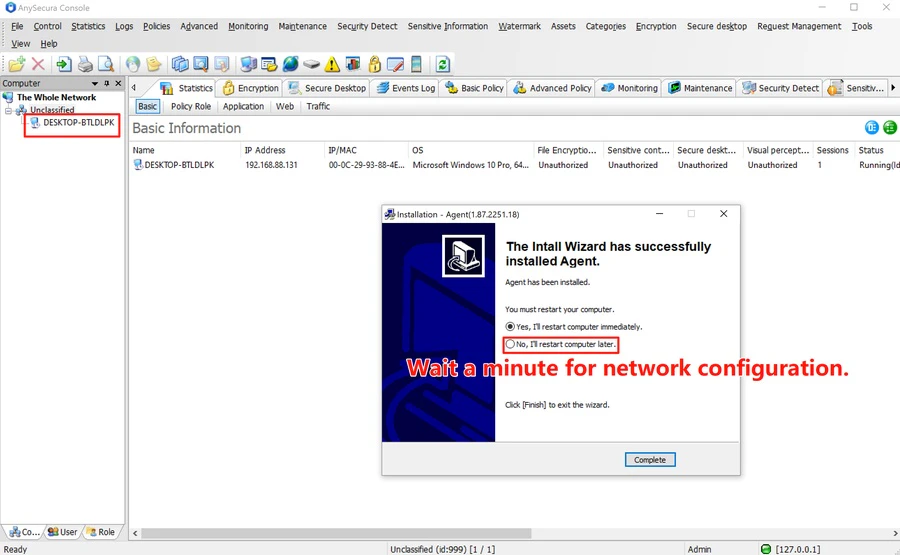
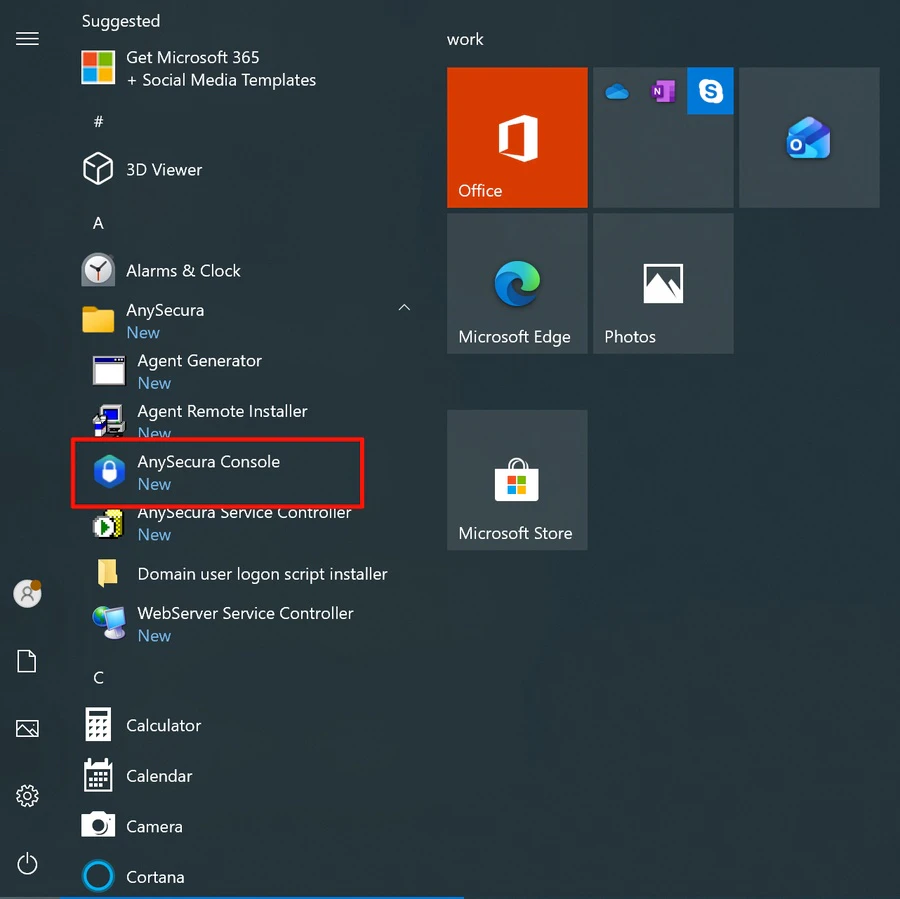
Follow this guide to install AnySecura on your PC in just 4 steps (approximately 20 minutes, excluding download time).
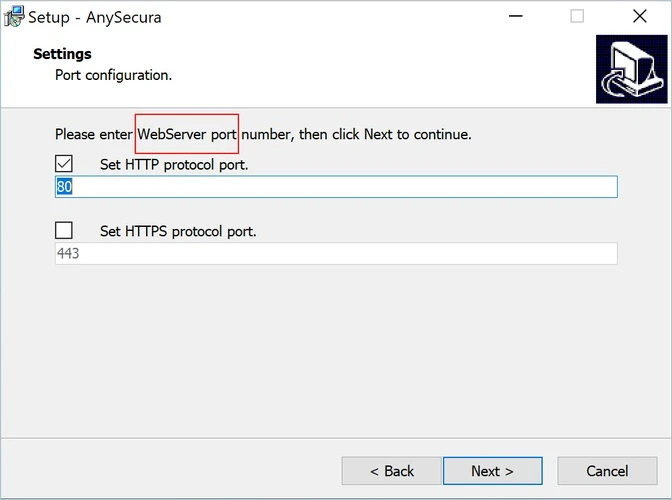
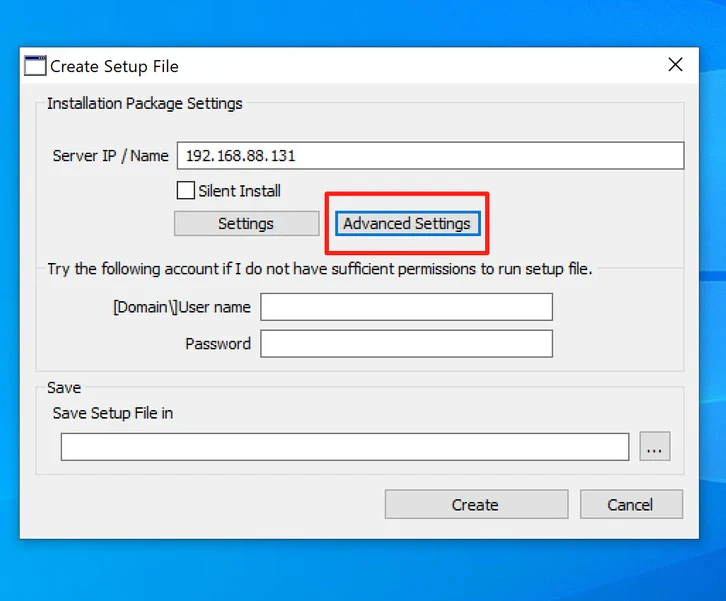
8235 / 8236 / 8237 / 80 (or custom configured ports)Video Tutorial: Prefer a walkthrough? Watch the video tutorial and follow the same installation sequence step by step.


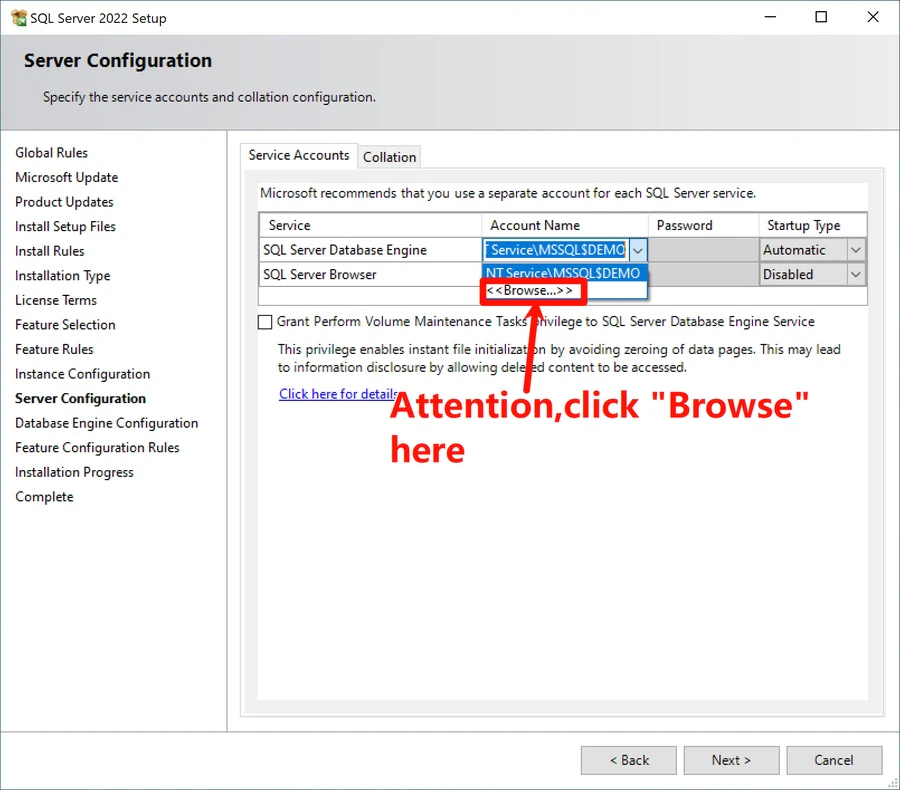
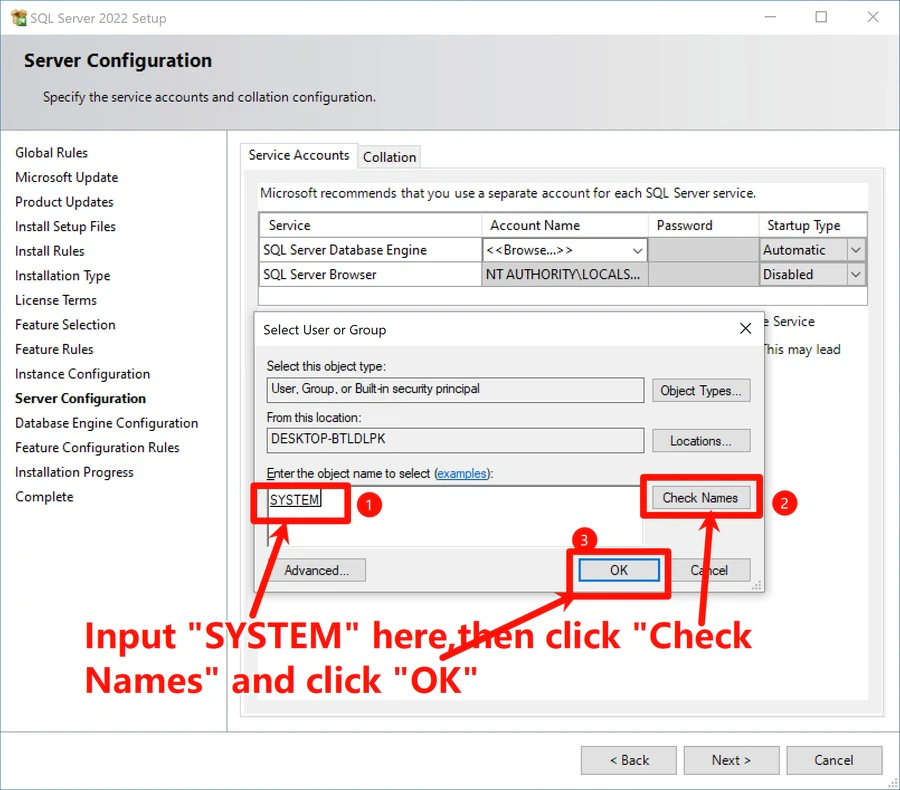
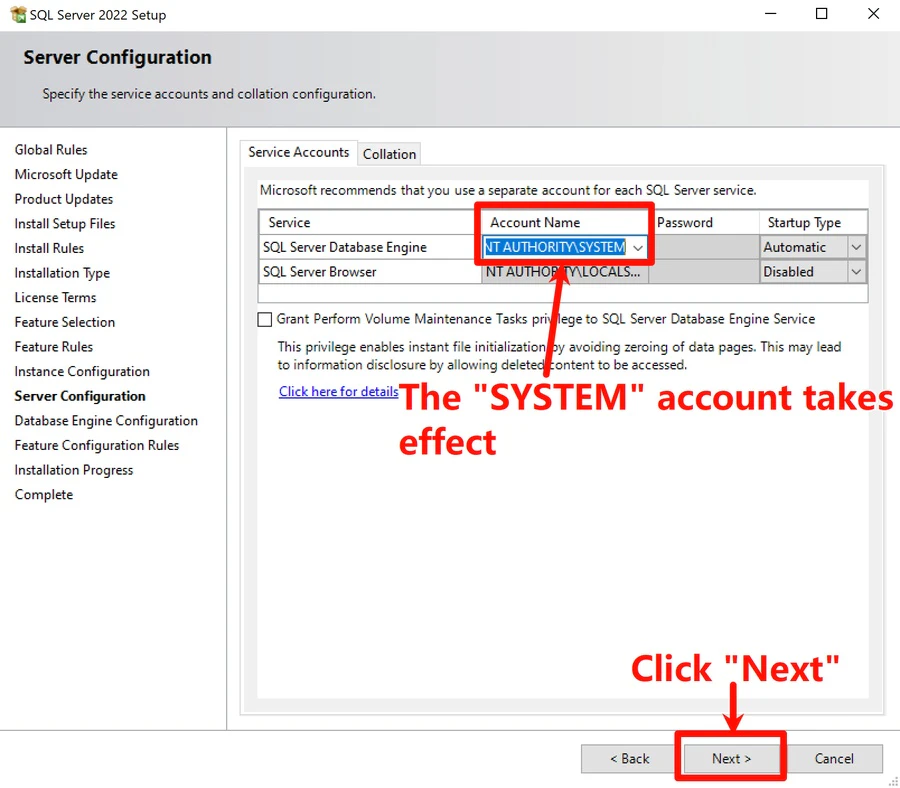
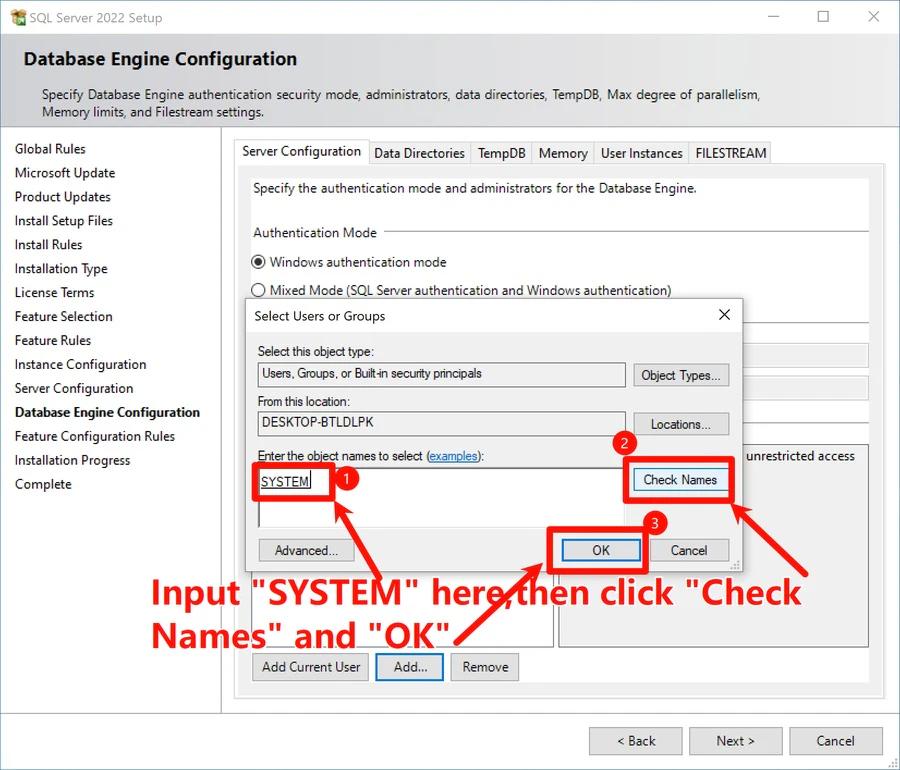
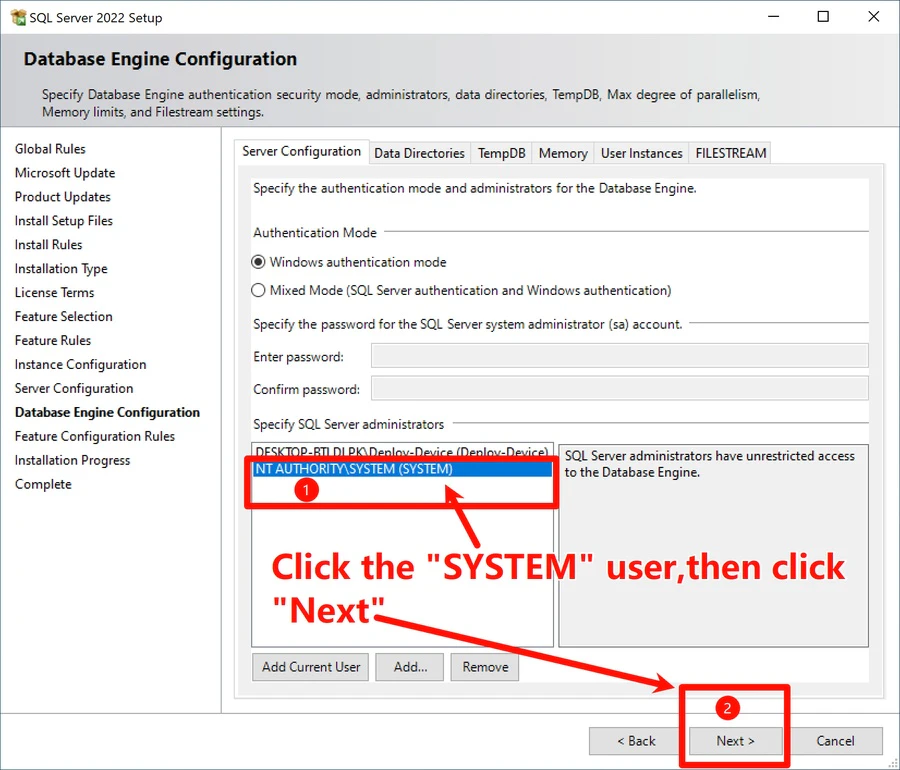
NT AUTHORITY\SYSTEM account from the list, then click Next.NT AUTHORITY\SYSTEM as the startup account for the SQL Server Database Engine service.
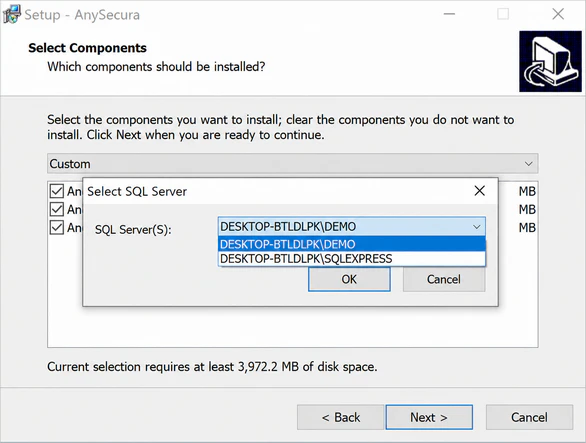
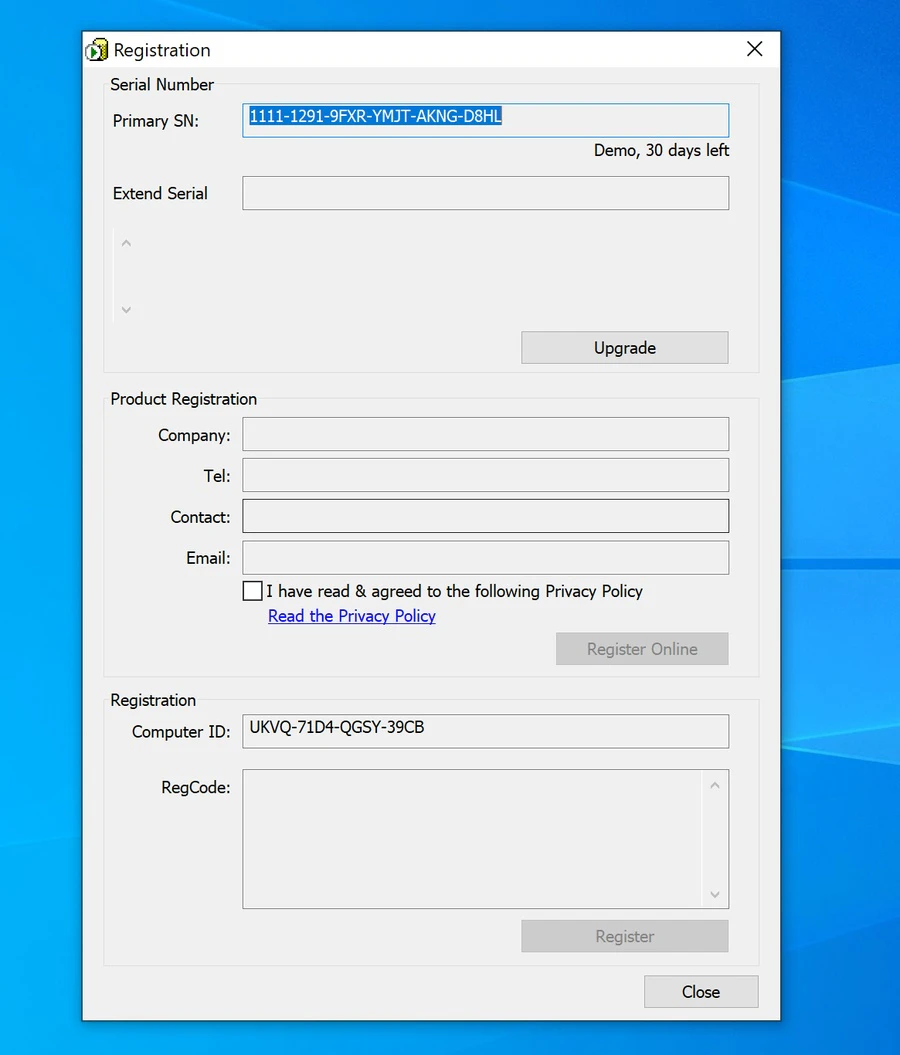
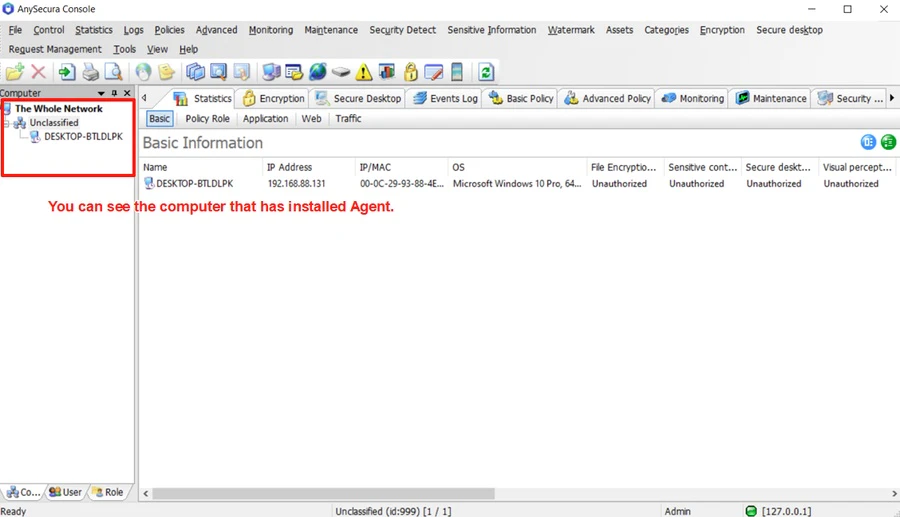
Demo.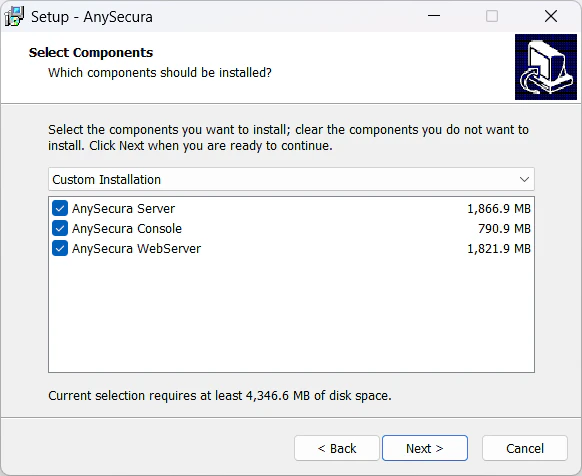
Need more detailed instructions? Check out the complete user manual or contact us.