How to Use External Release Objects in Document Security Management - AnySecura Manual
This guide will help you master external release objects within AnySecura's Document Security Management module. You'll learn how these objects act as secure gateways, allowing authorized users to open protected documents outside the encryption environment.
We'll walk through creating and managing these objects, then explore the different authorization methods. You'll see how to grant access broadly or lock it down to specific computers and USBKeys, giving you precise control over your document security.
External release objects are entities that can open external release documents outside the encryption system environment.
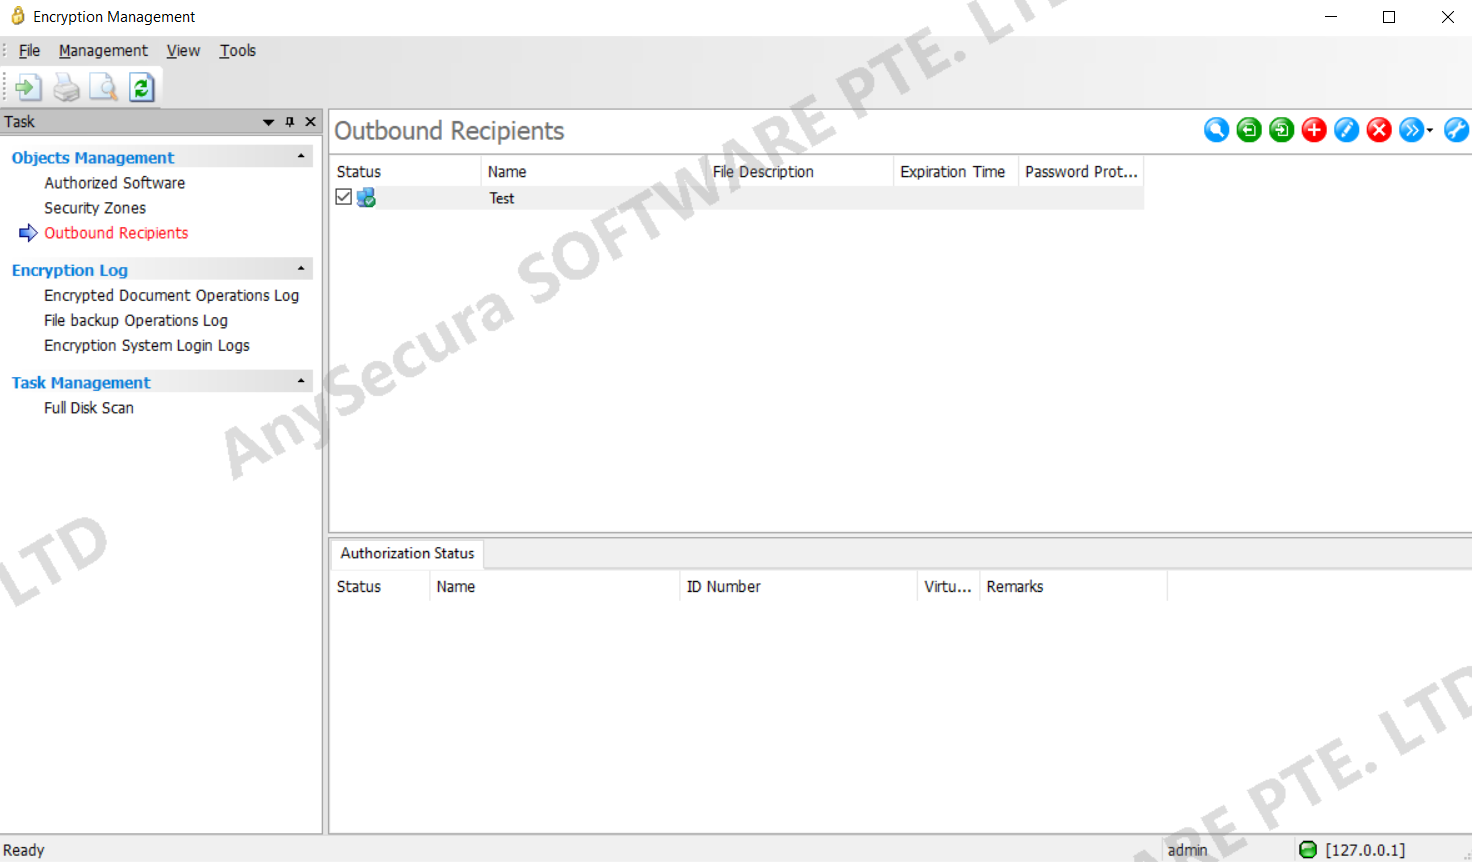
In the Document Security Management window, external release objects can be viewed and modified.
| Icon Button | Action |
|---|---|
 |
Import external release object information. Existing objects and authorization info are ignored; imported authorizations are set as unverified. |
 |
Export current external release object information, including authorization details. |
 |
Add an external release object and optionally enter a description. |
 |
Edit the name and description of an external release object. |
 |
Delete an external release object. |
 |
Import external computer IDs to bind external release documents to specific machines. |
 |
Import external USBKey IDs to bind external release documents to specific USBKeys; only machines with the USBKey inserted can open the external release documents. |
 |
Manage external USBKeys. |
By toggling the selected and unselected states in the status bar, you can enable or disable the corresponding external release object.
Authorization Types
Currently, three authorization methods are supported for external release objects.
| Authorization Method | Description |
|---|---|
| General Authorization | Computer-based authorization. No machine binding is required; any computer importing the general authorization certificate generated under the external release object can open the external release files. |
| Bound Computer Authorization | Computer-based authorization. Requires binding the computer via its ID. Only machines with the bound ID can access the external release files. |
| Bound External USBKey Authorization | USBKey-based authorization. Requires binding the external USBKey via its ID. Only machines with the bound USBKey inserted can open the external release files. |
General Authorization
- Add an external release object; it is enabled by default.
- In the Authorization section, right-click and select Create General ID. Once created, the general ID is set as verified. (This step can be skipped; authorizing the external release object directly will automatically generate a general ID.)
- Select the external release object and right-click to choose Authorize.
- In the authorization window, configure settings such as expiration date and password protection, then click Generate Authorization File to create the general authorization file.
- Import the authorization file into the External Release Viewer. When the general ID is enabled, the viewer can open all external release files sent to this external release object.
Bound Computer Authorization
- Add an external release object; it is enabled by default.
- In the Authorization section, right-click and select Import External Computer ID.
- In the import window, enter the computer’s ID, name, and description, then click OK to generate a bound ID, initially unverified.
- Select the bound ID and right-click to choose Verify.
- Select the external release object and right-click to choose Authorize.
- In the authorization window, configure settings such as expiration date and password protection, then click Generate Authorization File to create the bound authorization file.
- Import the authorization file into the External Release Viewer to access all external release files sent to this external release object.
- Bound authorization can be done by first importing a general authorization certificate and then binding the ID, or by binding the ID first and then importing the generated bound authorization certificate.
Note:
- For details on obtaining external computer IDs, refer to the Authorization → Obtain ID subsection in the External Release Viewer chapter.
Bound External USBKey Authorization
- Insert the external USBKey into the machine logged into the console.
- Add an external release object; it is enabled by default.
- In the Authorization section, right-click and select Import External USBKey ID.
- In the import window, the USBKey ID is loaded automatically. If multiple USBKeys are inserted, select the one to authorize, enter a name and description, then click OK to generate the bound USBKey ID.
- Select the generated USBKey ID and right-click to choose Verify.
- Select the external release object and right-click to choose Authorize.
- In the authorization window, configure settings such as expiration date and password protection, then click Authorize USBKey. The USBKey is now authorized, and any machine with this USBKey inserted can access all external release files sent to the external release object.
Note:
- 1. If no external USBKey is inserted on the console machine during authorization, click Generate Authorization File and import the file on a machine with the USBKey inserted to complete the authorization.
- 2.For details on obtaining external USBKey IDs, refer to the Authorization → Obtain ID subsection in the External Release Viewer chapter.
Switching Between General and Bound Authorization
General and bound authorizations cannot coexist. Enabling general authorization disables bound authorizations, and enabling one or more bound authorizations disables general authorization.
If general authorization is initially used and stricter control is required, import computer IDs, generate bound authorizations, and enable them. Only machines with bound IDs can then access external release files sent to this external release object.
If bound authorization is currently used and control needs to be relaxed, generate and enable general authorization (or enable an existing one). Any machine importing the general authorization certificate can access external release files sent to this external release object. Previously bound machines do not need to import any additional authorization files to view these files.