How to Use Intelligent Endpoint Management in Document Security Management - AnySecura Manual
This guide will help you master the Intelligent Endpoint Management feature within AnySecura's Document Security Management module. You'll learn how to view and organize all the smart devices in your network that have the security viewer installed.
From this foundation, you'll then see how to control access by authorizing these devices and applying specific encryption and watermarking policies. This ensures that sensitive documents can only be opened on approved terminals, with visual protections in place.
Select Document Security Management → Intelligent Endpoint Management. Administrators can view smart terminal devices with the security viewer installed and manage these devices.
21.15.1 Basic Operations
View Basic Information
Select a smart device in the left-hand view, then click the Basic tab on the right. The data displayed shows the basic information of the selected smart device.
1. Intelligent Terminal Basic Information
| Field | Description |
|---|---|
| Summary Information | |
| Name | Name of the smart terminal, default matches the user entered during authorization request; can be renamed in the console. |
| User | Name of the user who applied for terminal authorization. |
| Group | Group to which the smart terminal belongs. |
| Last Online Time | Last time the smart terminal communicated with the server. |
| Authorization Status | Status of the terminal's authorization: Pending Approval, Authorized, Authorization Denied, Authorization Cancelled, Universal Authorization, Expired, Deleted. |
| Application Information | Reason provided when requesting authorization for the terminal. |
| Authorization Validity | Validity period set during terminal authorization. |
| Authorization Authentication Interval | Interval for authorization authentication set during terminal authorization. |
| Device Information | |
| App Information | Information about AnySecura-related apps installed on the terminal. |
| Terminal Name | Name of the smart terminal. |
| Status | Current status of the terminal: Online or Offline. |
| Offline Days | Number of days the terminal has been offline. |
| Network Address | IP address of the terminal. |
| Operating System | Terminal's operating system. |
| Device Model | Model name of the terminal. |
| Device Manufacturer | Manufacturer of the terminal. |
2. Intelligent Terminal Group Basic Information
In the Intelligent Terminals panel, select a group and click the Basic tab on the right. The displayed data shows the basic information of the selected terminal group.
If Entire Network is selected, all terminal groups will be displayed. Click the Expand button “ ” in the top-right corner of the display area to view the list of all smart terminals within these groups.
Group Operations
In the intelligent terminal hierarchy, there is initially only the Ungrouped category. When a smart terminal requests authorization, the Pending Approval and Unauthorized groups are automatically created, and the requesting terminal appears under both groups.
After an administrator processes the authorization:
- The terminal is removed from Pending Approval.
- If authorization is denied, the terminal remains in Unauthorized.
- If authorization is approved, the terminal moves from Unauthorized to Ungrouped.
Once a smart terminal is successfully authorized for the first time, it is placed in Ungrouped by default. To facilitate management, administrators can create additional groups to logically organize terminals.
Create a New Group
In the intelligent terminal hierarchy, select the root node Intelligent Terminals or an existing group. Then choose File → New Group from the menu. A new group node will appear in the hierarchy in editable mode. Enter the group name and assign authorized smart terminals to this group. Administrators can use the same method to create multi-level group structures.
Note:
- By default, there is an Ungrouped category. Newly authorized smart terminals are automatically assigned to this group. The Ungrouped group cannot be deleted, renamed, or used to create subgroups.
Assign or Change Group
To assign a smart terminal to a logical group or change its group, select the terminal(s), then choose File → Move To from the menu and select the target group. The selected terminals will be moved to the designated group.
Alternatively, you can use drag-and-drop: select the terminals, hold down the left mouse button, and drag them to the desired group. The selected terminals or groups will then belong to the target group.
Search
The search function allows administrators to quickly locate a specific smart terminal and view its related information.
In the intelligent terminal hierarchy, select File → Search to open the search dialog. Enter your search criteria, which can include Name (as shown in the hierarchy), Network Address, Operating System, Authorization Status, or Status. Fuzzy matching is supported.The search results will be displayed in a list below. Double-clicking a terminal in the list will take you directly to its detailed information page.
Rename
To facilitate management, administrators can rename a smart terminal to a more convenient and recognizable name. Select the terminal, then choose File → Rename from the menu. The updated name will be displayed in the console.
Delete
For smart terminals that no longer need to be managed, administrators can delete them from the console. Select File → Delete to remove the selected terminal. If a terminal group is deleted, all its subgroups and terminals will also be removed.
Deleting a terminal will revoke its authorization. The AnySecura Viewer on that device will stop functioning, displaying the message: "Your authorization has been deleted. Please contact the administrator."
Restore
For smart terminals previously deleted from a group, administrators can restore them from the console. Select File → Restore to return the terminal to its original group. The authorization status will also revert to the state it was in before deletion.
21.15.2 Authorization Management
Enable Authorization
After a smart terminal applies for authorization using the security viewer, it will appear in the "Waiting for Approval" group. To authorize a terminal: select a terminal with the status Waiting for Approval, right-click and choose Authorization Management → Enable Authorization, configure the authorization settings, and click OK.
The authorization settings include:
| Setting | Description |
|---|---|
| Authorization Time Settings | Configuration for the smart terminal's authorization duration. |
| Authentication Interval |
|
| Authorization Validity Date | If checked, select a date before which the terminal's authorization is valid. After this date, the authorization expires and the security viewer cannot be used. If unchecked, the terminal's authorization has no time limit. Default: unchecked. |
| Group Settings | Assign the terminal to a group after authorization. |
| Select Group | Choose the target group; after enabling authorization, the terminal will be placed in this group. |
Reject Authorization
Select a smart terminal with the status Waiting for Approval, right-click and choose Authorization Management → Reject, enter the reason for rejection, and click OK. After rejection, the terminal's authorization status will change to Rejected, and the rejection reason will be displayed on the security viewer's authorization status page.
Pause Authorization
For smart terminals with the status Authorized, the administrator can right-click and select Authorization Management → Pause Authorization to suspend the terminal's authorization. Once paused, the security viewer on the terminal will not function properly, and the authorization page will display: "Your authorization has been paused, please contact the administrator."
Cancel Authorization
For smart terminals with the status Authorized, Paused, or Expired, the administrator can right-click and select Authorization Management → Cancel Authorization to revoke the terminal's authorization. After cancellation, the terminal's authorization status will change to Canceled, and the security viewer will no longer function. The authorization page will display: "Your authorization has been canceled, please contact the administrator."
Modify Authorization Information
For smart terminals with the authorization status of "Authorized," "Paused," or "Expired," the administrator can right-click and select "Authorization Management -> Modify Authorization Info" to update the terminal's authorization details. The modifiable settings are the same as those available when enabling authorization.
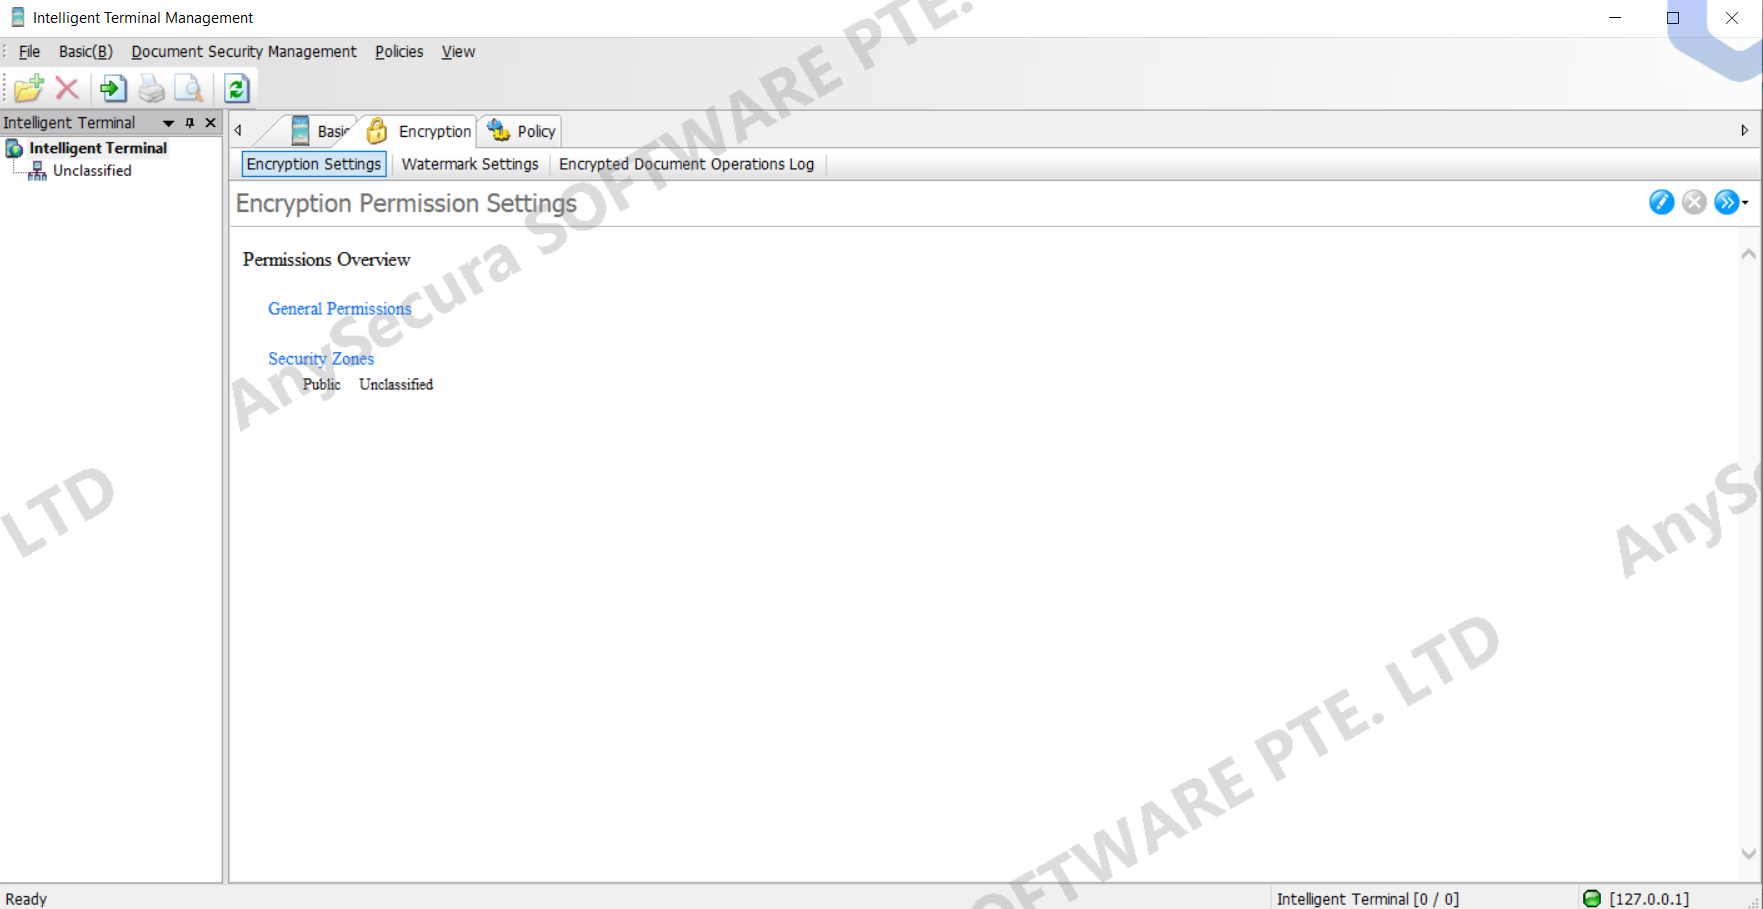
21.15.3 Encryption Settings
Encryption Settings
The encryption settings for a smart terminal primarily define its security zones. They specify which security zones and levels of encrypted documents the terminal can access. Documents outside the permitted security zones or levels cannot be opened on this device.
For example, if a smart terminal is granted access only to the Marketing Department's confidential level, the AnySecura viewer on this terminal can open documents at the Marketing confidential level and below, but cannot open any documents from the Finance Department regardless of their security level.
Watermark Settings
Administrators can configure watermark types and content to have the AnySecura viewer display custom text or QR codes when viewing files, effectively protecting document copyright.
The watermark settings include:
| Setting Name | Description |
|---|---|
| Enable Watermark Policy | Check this option to activate the AnySecura viewer watermark policy. |
| Watermark Content | Set the watermark content. Options include text watermark and QR code watermark. |
| Text Watermark | Check this option to add text as a watermark. Requires setting text content, font size, font color, and transparency. Text content options include user, current date, and custom content. |
| QR Code Watermark | Check this option to add QR code information as a watermark. Requires setting QR code content and transparency. QR code content options include current date, user, and custom content. |
| Parameter Settings | Configure related parameters. |
| Watermark Style | Set the watermark style. Three styles are available; preview can be viewed on the left. |
| Documents | Set which documents the watermark applies to. By default, all documents are enabled. Optionally, apply watermark only when viewing encrypted documents. |