How to Use Screen History Viewer in Monitoring - AnySecura Manual
This guide will help you master the Screen History Viewer within the AnySecura Monitoring module, turning recorded screen data into actionable insights. You'll learn how to navigate the viewer's interface to efficiently review and analyze user activity.
Beyond simple playback, you'll discover how to pinpoint specific events using powerful filters and export findings as videos or reports. This knowledge empowers you to conduct thorough reviews and maintain clear audit trails for compliance and security purposes.
After locating the desired screen records, double-click a record or click the [View] button to open the Screen History Viewer, allowing administrators to review the screen history of the selected computer. The Screen History Viewer cannot be launched independently and must be started from the console module.
Interface Overview:
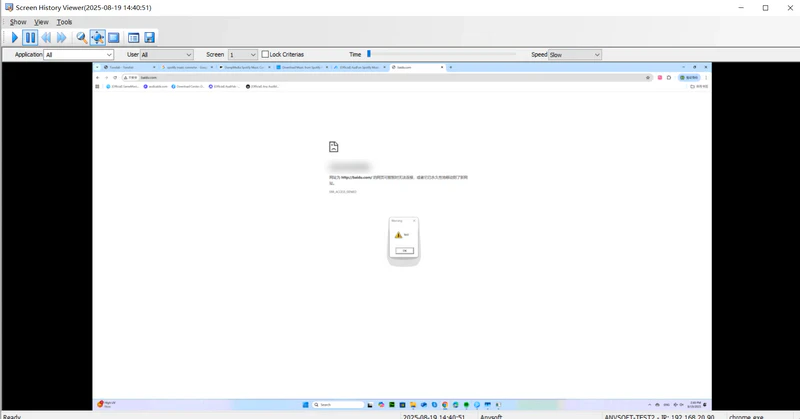
The Screen History Viewer window includes the title bar, menu bar, toolbar, query bar, timeline ruler, image display area, and status bar.
Display
You can select a specific screen frame using the menu or toolbar buttons, or directly drag the slider on the timeline ruler to view a particular frame.
View Options
Administrators can choose whether to display the toolbar and status bar via the "View" menu. The image display area supports original size, scaled, and full-screen modes, similar to the console module.
Playback Speed
Screen playback speed can be adjusted under View → Speed, with three options: Fast, Normal, and Slow, allowing users to choose based on their preference.
Search
The query bar enables administrators to quickly locate specific screen history records. Searches can be filtered by application, user, screen, or timeline.
| Query Item | Description |
|---|---|
| Application | By default, all applications' screen history is played. You can select one or multiple applications from the dropdown to view only their screen history. |
| User | If multiple users' screens are recorded, you can select a specific user to view only that user's screen history. |
| Screen | If the client machine has multiple monitors, you can choose a specific screen to view its recorded data. |
| Lock Conditions | Locks the above three query conditions so that only screen data meeting all three criteria is displayed. |
| Timeline Ruler | Shows the timestamp of the current frame. Drag the slider to a specific point to view that frame. Hovering the mouse over the ruler displays basic frame information. Selecting Tools → Window Title Changes shows detailed information for each frame, including time, user, application, and window title. |
Export as Video File
Administrators can save selected screen history for future reference. By choosing Tools → Save as Video File, there are four available saving options:
| Save Method | Description |
|---|---|
| By Time | Save screen data within a specified time range. Drag the slider on the timeline ruler to set the start and end time. |
| By Application | Save only the screen history of specified applications. |
| By User | Save only the screen history of a specified user. |
| Save All | Save the entire screen history. |
Export Screen History as Images Frame by Frame
Administrators can export screen history frame by frame as images. By selecting Tools → Save as Pictures, there are four export options available:
| Export Method | Description |
|---|---|
| By Time | Export frames within a specified time range. Drag the slider on the timeline ruler to set the start and end time. |
| By Application | Export only frames corresponding to specified applications. |
| By User | Export only frames corresponding to a specified user. |
| Export All | Export all frames from the entire screen history. |
Window Title Change Information
Administrators can view the window title information from screen history. By selecting Tools → Window Title Change Information, the information can be printed via the right-click menu options Print Preview / Print.
The data can also be exported, supporting three file formats:
- Web file (*.htm; *.html)
- Excel file (*.xls)
- Text file (*.csv)