How to Use Category Management in Software Center - AnySecura Manual
This guide will show you how to organize your software library using the Category Management feature in AnySecura's Software Center. You'll learn to create clear, visual categories that make it easy for users to find the applications they need.
We'll walk through adding, editing, and arranging these categories, giving you full control over how software is presented. You'll also understand the simple steps to update or remove categories, ensuring your Software Center remains tidy and efficient.
Select Settings -> Category Management to enter the category management page. Administrators can create different categories to manage different software.
Add Category
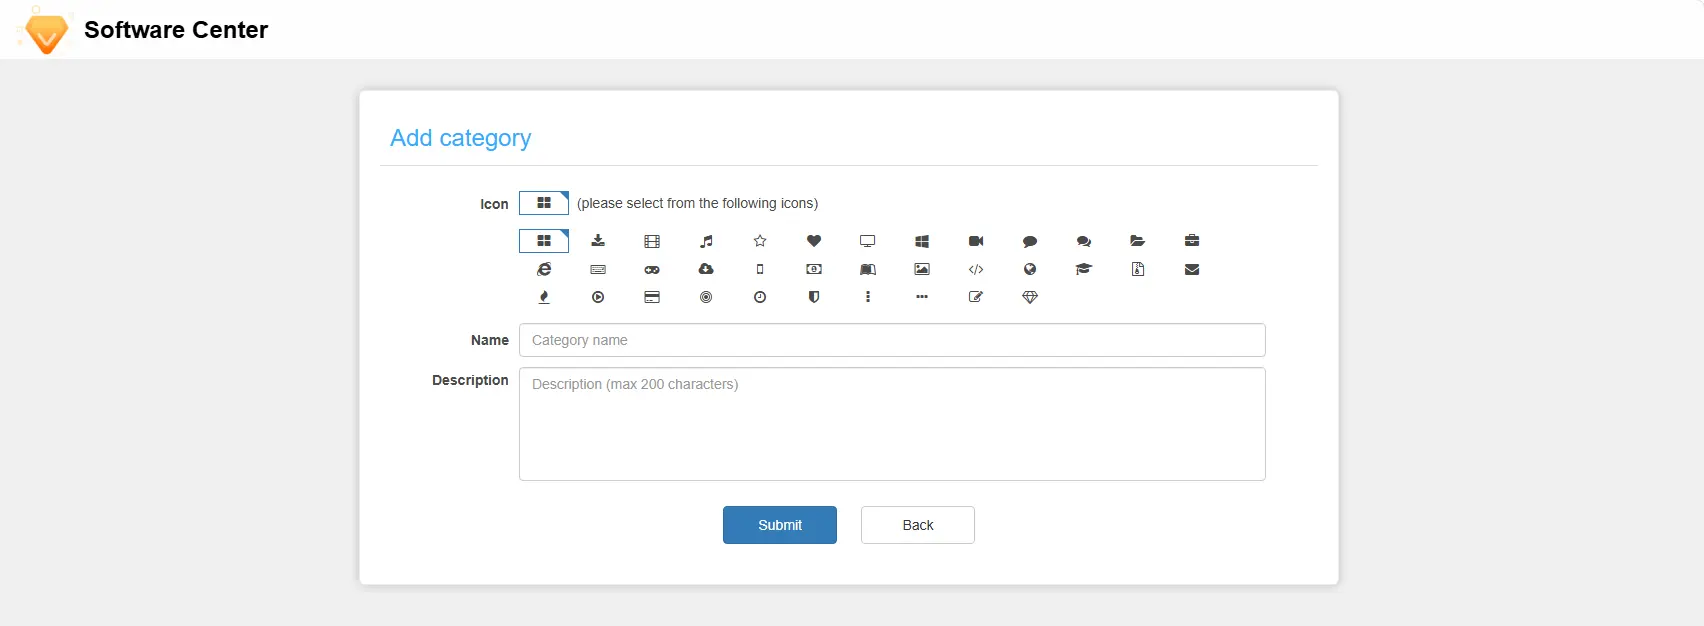
Click Add to enter the Add Category page.
Category Information Description:
| Setting Items | Description |
|---|---|
| Icon | Select a personalized icon. The icon style is system-provided. |
| Name | The name cannot be empty and must be no longer than 200 characters. |
| Description | This field is optional, with a maximum of 200 characters. |
Note
After submitting the information, the page will redirect to the Category Management page. In the Software Center client, click the Refresh button to update the data.
Edit Category
In the Category Management page, select any category and click Edit. The page will redirect to the Edit Category page.
After editing the information, click Submit to save the changes. The updated category will be visible. After refreshing in the Software Center client, the data will also be updated.
Delete Category
In the Category Management page, select any category and click the Delete button. A prompt will appear. Click Confirm to delete the category, or click Cancel to keep the category. The page will then refresh.
If the category contains software, it cannot be deleted. You must first delete all software under that category before deleting the category.
Note
To delete all software under a category, go to the Software Management page, filter by the specified category, select all the software, and then delete them.
Adjust Category Order
In the Category Management list, move the mouse over the Icon column of a category. Hold down the mouse button to drag and adjust the order of the category.