How to Use Policies in Web Console with AnySecura | User Guide
Welcome to the AnySecura Web Console, where you'll discover how to manage a comprehensive suite of security policies from a single, intuitive interface. This guide will show you how to apply controls for everything from application usage to data protection, giving you precise command over your organization's security posture.
You'll learn to navigate the policy management area, effortlessly assigning these powerful AnySecura rules to specific users or computers. By the end, you'll be confidently creating, ordering, and enforcing policies to build a tailored and resilient security environment.
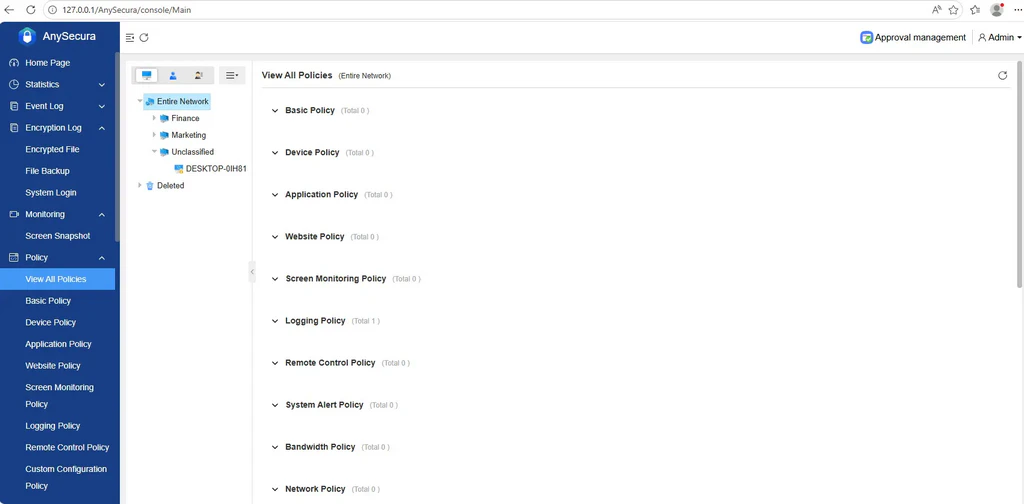
In the navigation bar, select "Policies" to view policy information for computers (groups) and users (groups), and to add, modify, delete, or move policies.
Policies include: basic policies, device control, application control, screen recording, log recording, remote control, client configuration, system alerts, software installation management, document control, print control, print watermark control, screen watermark control, removable storage control, sensitive information export control, sensitive information storage control, web browsing, traffic control, network control, email control, IM file transfer control, upload control, and document cloud backup policies.
Select a specific policy in the navigation bar, choose a computer (group) or user (group) in the object selection area, and the policy settings page will appear in the rightmost view.
Click the  button on the far right to add a policy.
Click the  button to move a policy up.
Click the  button to move a policy down.
Click the  button to delete a policy.
Click the  button to reload policies.
Click the  button to save policies.