How to Use Encryption Policies in Web Console - AnySecura Manual
Welcome to the AnySecura Web Console, where you'll learn to manage your organization's data protection through centralized encryption policies. This guide will show you how to navigate to the "Encryption Policies" section to view and control settings for users, groups, and computers.
You'll discover how to apply powerful features like transparent or read-only encryption to clients, and understand how policies can be inherited and stacked for flexible, layered security. By the end, you'll be confident in setting, modifying, and applying these crucial AnySecura policies directly from the console.
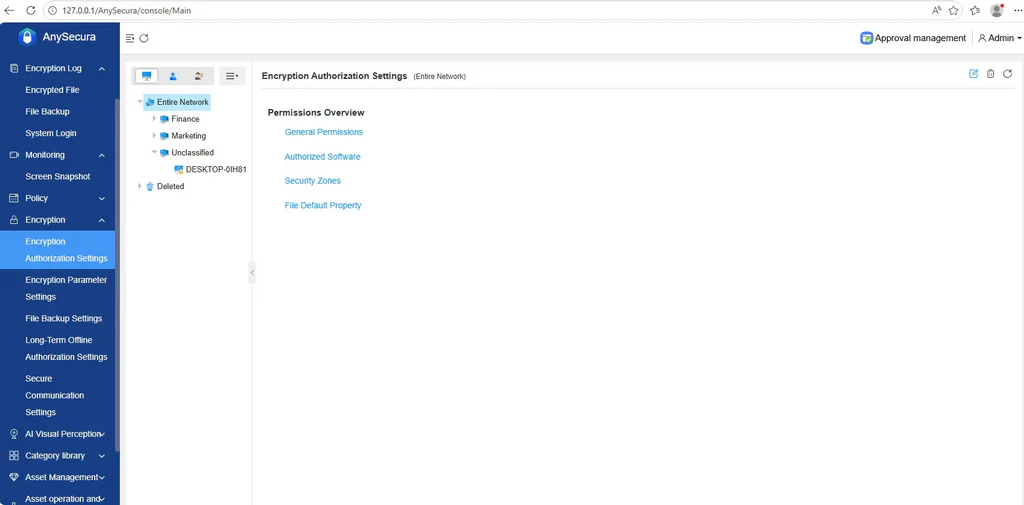
In the navigation bar, select "Encryption Policies" to view policy information for computers (groups) and users (groups), and to set, modify, or delete policies. Policies support inheritance (stacking) and include: encryption authorization settings, encryption parameter settings, document backup settings, long-term offline authorization, and secure communication settings.
In the object selection area, choose an object and click the ![]() button:
button:
- Select "Encryption Authorization Management → Enable Transparent Encryption" to enable encryption authorization for the client.
- Select "Encryption Authorization Management → Enable Read-Only Encryption" to enable read-only encryption for the client.
- Select "Encryption Authorization Management → Revoke Encryption Authorization" to revoke encryption authorization for the client.
Select a specific encryption policy in the navigation bar and a computer (group) in the object selection area. The rightmost view will display the policy settings page, where you can click the button on the far right to set or modify the policy.
Encryption policy settings are the same as those in the console.